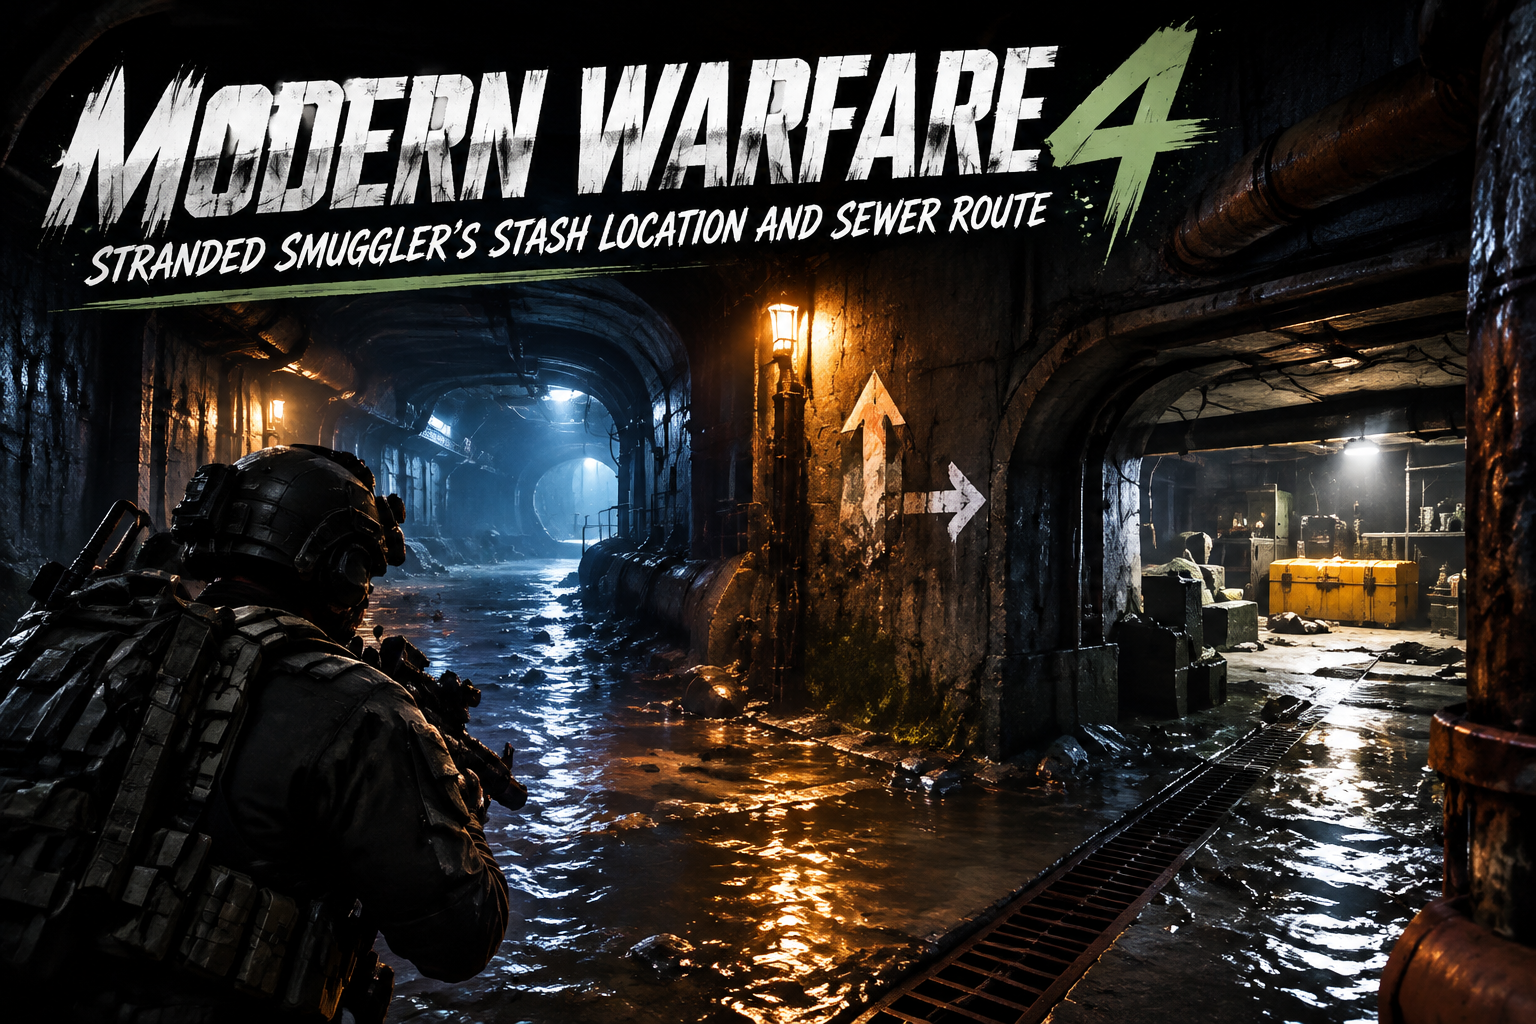
The Smuggler’s Stash in Stranded is hidden beneath the Water Treatment area in Call of Duty: Modern Warfare 4. You cannot reach it by simply following a surface marker. The route takes you down into the sewers, through two crawlspace puzzles, and into a hidden room containing a Yellow Supply Crate, supplies, and the Sewer Smuggler Remains Note.
This is an important stop if you are clearing Stranded’s optional objectives. The Yellow Supply Crate contributes to Time to Crate, while the note counts toward Noteworthy, so completing the sewer route saves you from returning to this underground section during collectible cleanup.
Where Is the Smuggler’s Stash in Stranded?
The Smuggler’s Stash is below the Water Treatment facility southeast of Base Camp. The underground collectibles are around Tac Map coordinates 639, 165, with Water Treatment itself serving as the easiest landmark when approaching from the surface.
If you are doing a full exploration run, search the nearby Smuggler House and smaller surrounding structures before entering Water Treatment. This part of the map contains several notes and supplies close together, making it more efficient to clear the entire area in one pass.
Fast Route to the Stash
Base Camp → Smuggler House area → Water Treatment → sewer ladder → first tunnel puzzle → ladder → second tunnel puzzle → Smuggler’s Stash
Once you are underground, stop treating the Tac Map as your primary guide. The correct path is communicated through markings placed near the tunnels.
How to Enter the Water Treatment Sewers
Enter the Water Treatment building and search the interior for the ladder leading underground. There are collectibles and supplies around this area, including the Water Treatment Note and Sewers Note, so check the building and the bottom of the ladder before pushing deeper.
After descending, turn toward the crawlspace and inspect the markings before entering. These markings are the key to the puzzle: they indicate the sequence of turns you need to make inside the tunnel.
Do not read the markings as compass directions. They describe the route through the crawlspace from your current position. The tunnel also contains bends that are not meaningful junctions, so only count places where you actually have a choice between passages.
First Smuggler Tunnel Route
The first tunnel is short, but its cramped layout makes it easy to misread a bend as an intersection. Use the clue at the entrance and focus on actual branching paths.
- Crawl forward into the tunnel.
- Take the right at the first relevant intersection.
- Turn left at the next junction.
- Continue straight at the following intersection.
- Turn left when the route opens toward the remains ahead.
- Follow the passage until you reach a ladder.
- Climb up to reach the second puzzle.
Reaching the ladder confirms that you followed the first sequence correctly. If the tunnel layout stops matching the expected path, return to the last clear junction instead of trying random passages.
Second Smuggler Tunnel Route
The second crawlspace uses a longer sequence. Check the markings again before entering rather than assuming the route continues in the same pattern as the first section.
Follow this order:
- Go straight and turn right at the first intersection.
- Turn left.
- Take another left.
- When you reach the pipe sticking out of the wall, turn right.
- At the dead end, turn left.
- Continue straight through the open section.
- At the next pipe, turn left and continue toward the stash.
The pipes and dead end are useful visual checkpoints. If you reach them in the expected order, you are still following the correct path.
Sewer Route Quick Reference
First tunnel: Right → Left → Straight → Left → Ladder
Second tunnel: Right → Left → Left → Right at pipe → Left at dead end → Straight → Left at pipe
Use this sequence as a quick reminder rather than ignoring the environmental clues. Following the markings is more reliable because ordinary bends in the crawlspace can make the route appear more complicated than it actually is.
What Is Inside the Smuggler’s Stash?
Completing the second tunnel brings you into the hidden Smuggler’s Stash. Do a full sweep of the room before leaving because three useful pickups are grouped together here.
- Yellow Supply Crate
- Sewer Smuggler Remains Note
- Supplies
The Yellow Supply Crate at approximately 639, 165 is currently documented as providing Armor Plates and 5 Supplies. More importantly for completion, opening this cache adds another Yellow Supply Crate to your Stranded progress.
The Sewer Smuggler Remains Note is found in the same hidden area. Picking it up during the crate run avoids repeating both tunnel puzzles later if you decide to finish the Noteworthy collectible requirement.
Why This Yellow Supply Crate Matters
Stranded contains 26 Yellow Supply Crates, with most located at fixed positions around the open map and two associated with moving vehicles. Opening every Yellow Supply Crate completes the Time to Crate requirement.
The sewer cache is particularly easy to overlook because its map position does not explain the full access route. Reaching the Water Treatment area is only the first step; you still need to find the ladder and solve both underground path sequences.
If your Yellow Supply Cache counter is missing one during cleanup, the sewer should therefore be one of the locations you check if you do not remember completing the arrow puzzle.
Common Smuggler’s Stash Mistakes
You reached Water Treatment but cannot find the stash: Search inside the facility for the ladder. The stash itself is underground rather than inside the main Water Treatment room.
You keep getting lost in the tunnels: Return to the markings and restart from the beginning of that crawlspace. Count actual intersections, not every curve in the tunnel.
You found the hidden room but are still cleaning up collectibles: Make sure you take the Sewer Smuggler Remains Note, supplies, and Yellow Supply Crate before leaving.
You are using the Tac Map underground: Use it to reach Water Treatment, then switch to the environmental markings and recognizable tunnel features for the sewer section.
Best Time to Clear the Smuggler’s Stash
Clear the stash while exploring the southeastern side of Stranded rather than saving it for the end of the mission. Starting around Base Camp and working through the Smuggler House area before moving into Water Treatment lets you collect several nearby notes and CoD MW4 DMZ Items in the same sweep.
Once inside the final sewer room, open the Yellow Supply Crate, collect the supplies, and take the Sewer Smuggler Remains Note before retracing your route. With the underground cache cleared, return to the surface and continue toward the remaining Stranded outposts, bunkers, keypad containers, moving caches, and other collectibles without needing another trip through the sewer puzzle.